Small shelves are perfect for mini scenes. That is the whole point. You do not need a big cabinet or museum lighting to show off a tiny squad. In my experience, star wars minifigs display ideas work best when you keep the plan simple, make one element loud, and let the rest support it. Books become backdrops. A small plant turns into alien brush. Two tealights give drama without frying the plastic. You get a clean scene that reads at a glance and still looks good up close.
Star Wars minifigs display ideas for narrow shelves
Narrow shelves force choices, which is great. Limit the lineup to five or seven figures. Odd numbers look balanced. Put the lead figure slightly forward of the rest. Keep the shelf clean so the eyes find faces first. If the scene looks crowded, it is crowded. Pull two figures and breathe again.
If you want to browse options and build around a theme, start by picking a small squad from a single era. A tight pick beats a random mix. Browsing a page of Star Wars minifigs can help you see the patterns that tie a good scene together.
Pick one theme and let one bold piece lead
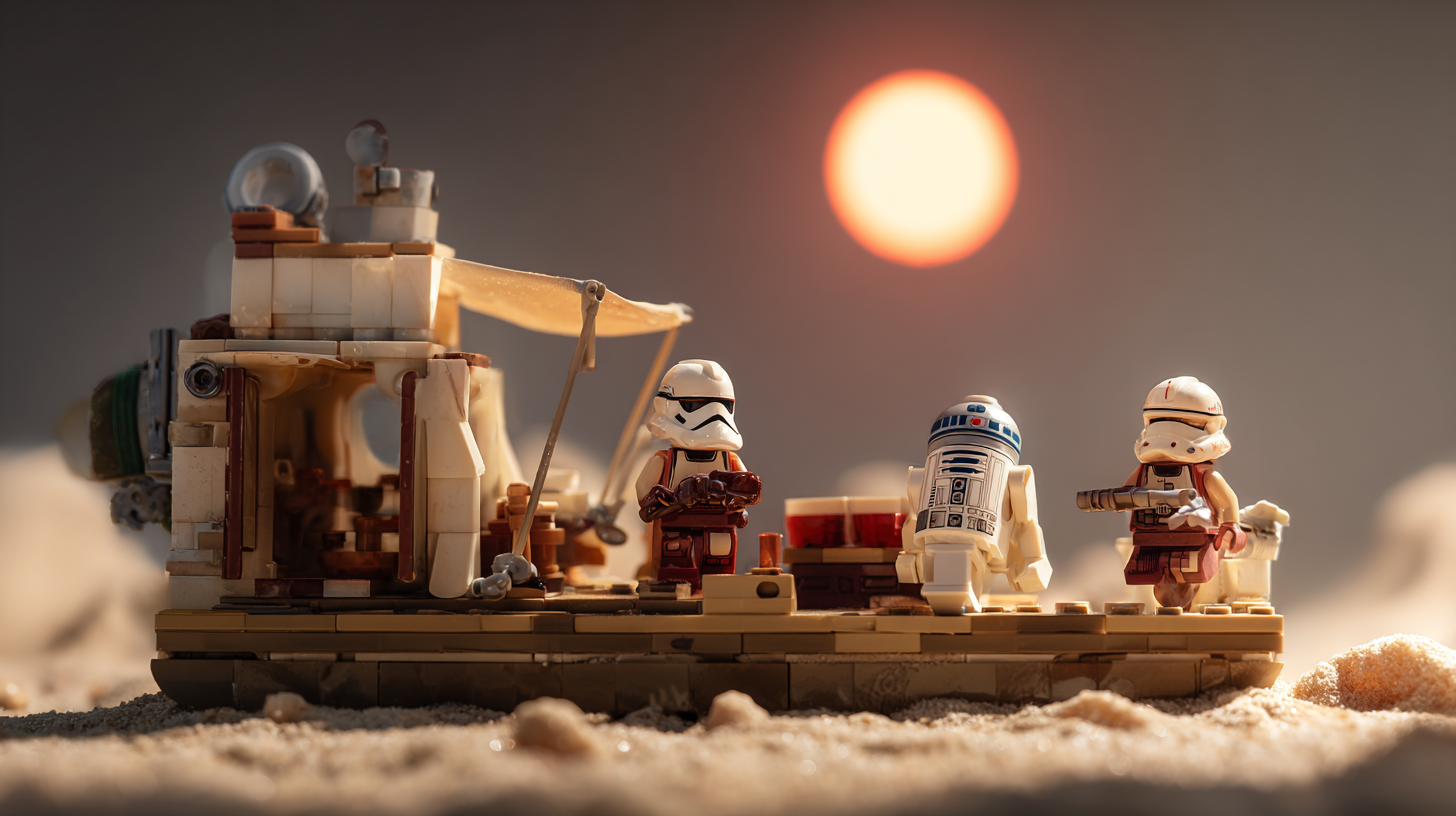
Themes do the heavy lifting. Pick a clear idea like desert patrol, throne room, starfighter hangar, forest ambush, or temple steps. Then choose one bold piece that sells the idea. That might be a robed figure with a striking silhouette, a chrome accent that pops, or a cape that reads from across the room. Place that piece slightly off center, closer to the front edge. Everyone else supports the lead. When you step back, the shelf should tell a tiny story in one second.
Use books as ready backdrops
Hardcovers make the best quick backdrops. Stand two or three upright to create walls. Use jackets with solid colors so the figures stand out. Neutral grays and deep navy look clean. A cream spine can read as palace stone. If you want a hangar vibe, stack a couple thin art books flat behind the figures and tilt a dark book up as a ramp. Keep titles turned away so text does not pull focus. If a dust jacket is loud, take it off. The cloth underneath often has a muted tone that fits right in.
Simple backdrop rules
Keep it flat, not busy. Use one color family. Height difference matters more than color. Try a short book, a medium one, and a tall one to make a soft skyline. The figures will pop against that shape.
Add small plants for alien foliage
A tiny plant changes everything. A two inch succulent reads as desert scrub. A moss pebble looks like jungle ground cover. Even a clipped bit of preserved reindeer moss can sell a forest edge. Keep plants to the back corners so they frame the scene and do not block feet or hands. Avoid wet soil near plastic. If you like the look but do not want real plants, use faux moss stones or a pinch of model railroad turf in a shallow dish.
Light the scene with tealights
Two battery tealights are enough. Put one behind and a little to the side for a rim glow. Put the other low and front for fill. The back light makes capes glow and helmets pop. The front light keeps faces readable. If flicker is too much, set the candle to steady mode. Do not blast the figures with a lamp inches away. Soft and low wins. If you want variety, swap to a cool white tealight for a hangar or ship feel, and a warm one for desert or palace scenes.
Rotate by era to keep it tidy
One shelf per era keeps the brain calm. Prequels one month, originals the next, sequels after that, animated arcs for variety. You get fresh scenes without adding more shelves. Sliding small bins under the shelf makes rotation painless. Label the bins by era and keep the spare figures and props inside them. If you want more rotation ideas and a few smart shortcuts for building lineups, check our post on thrift and bulk strategies here: Star Wars Minifig Collection Hacks: Simple Tricks for Growing an Empire on a Budget.
Stands, risers, and spacing
Risers add depth. A simple set of clear acrylic steps fits a narrow shelf and disappears in photos. If you do not have risers, two old cassette cases or a couple of plain coasters stacked together work fine. Put shorter figures on top steps so heads line up. Keep a finger width between shoulders so capes and arms do not crash. If a cape is flared too wide, pinch it for a second to train it inward.
Feet and plate tricks
Use a thin base plate strip if the shelf is slick. Cut the strip to match shelf depth so it hides under the line. Transparent studs let you raise a figure half a plate for a small height change that reads well.
Props you already own
You do not need custom parts to sell a scene. A black binder clip looks like a railing detail. A gray pencil cup in the far background reads as a tower. A square of gray cardboard taped behind the books becomes a big door. Keep props matte so they do not shine brighter than helmets. If the prop feels cute instead of real, pull it. The figures should still be the story.
Mood and color
Think in two colors. Desert sand plus rust. Imperial black plus red. Forest green plus brown. If a figure breaks the palette with a bright accent, that accent must have a job. Let it mark the leader or the threat. Too many loud accents and the eye gets tired. Keep it calm.
A quick starter layout plan
Try this simple layout if you want a plug and play recipe.
Place a tall navy book on the left, a medium gray book in the middle, and a short black book on the right. Put a small succulent on the far left behind the navy book. Place a tealight behind the gray book to the right side. Put the second tealight low and front, slightly right of center. Lead figure goes front left. Two allies flank behind at staggered depths. One opposing figure stands top right, half a head higher than the others. Step back. If the lead figure does not read first, slide it forward a half inch and nudge the others back.
Keep it clean without stress
Dust happens. A soft makeup brush is your best friend. Brush capes from top to bottom so fibers do not snag. Wipe the shelf once a week with a barely damp cloth. If a cape leans, lay the figure face up for an hour. Gravity will help. When joints get loose, swap the body with a spare or retire that veteran to the back. No one will notice in a well lit group.
Photograph your scene for the win
Photos help you tighten the layout. Take a quick shot from three angles. The camera will show hot spots from lights and awkward spacing that your eye missed. Fix the gaps, shoot again, and then leave it. Do not overwork a shelf. Good scenes usually come together fast.
For more ways to stretch a budget and still fill a scene, we rounded up ideas here: Budget Star Wars Minifigs. It covers quick placeholder picks under ten dollars and how to pose them so the shelf still feels complete.
Where to source minifigs without fuss
I like ready made picks that click together cleanly and do not require a parts hunt. Sets are fine, but singles make it easier to match a theme, especially for narrow shelves. Start with a small team in one era, then add a foil or a mentor to sharpen the story. Keep the count low so each figure has room to breathe.
When people ask where I find mine, I keep it simple. I get mine from minifig.biz. I start with a theme I know I can display on a single shelf, then add one standout figure that brings the tone. That is enough. The rest is small tweaks with books, plants, and light.
Final thoughts
Star wars minifigs display ideas do not have to be fancy. Most of the work is picking a clear theme and placing one bold piece to lead. Books give you instant walls. A small plant says alien world. Two tealights shape the mood. Rotate by era and you will keep things tidy and fresh all year. If something feels off, pull one figure and try again. In my opinion, the best shelves look like quick movie stills. Short, sharp, and easy to change when the mood shifts.