
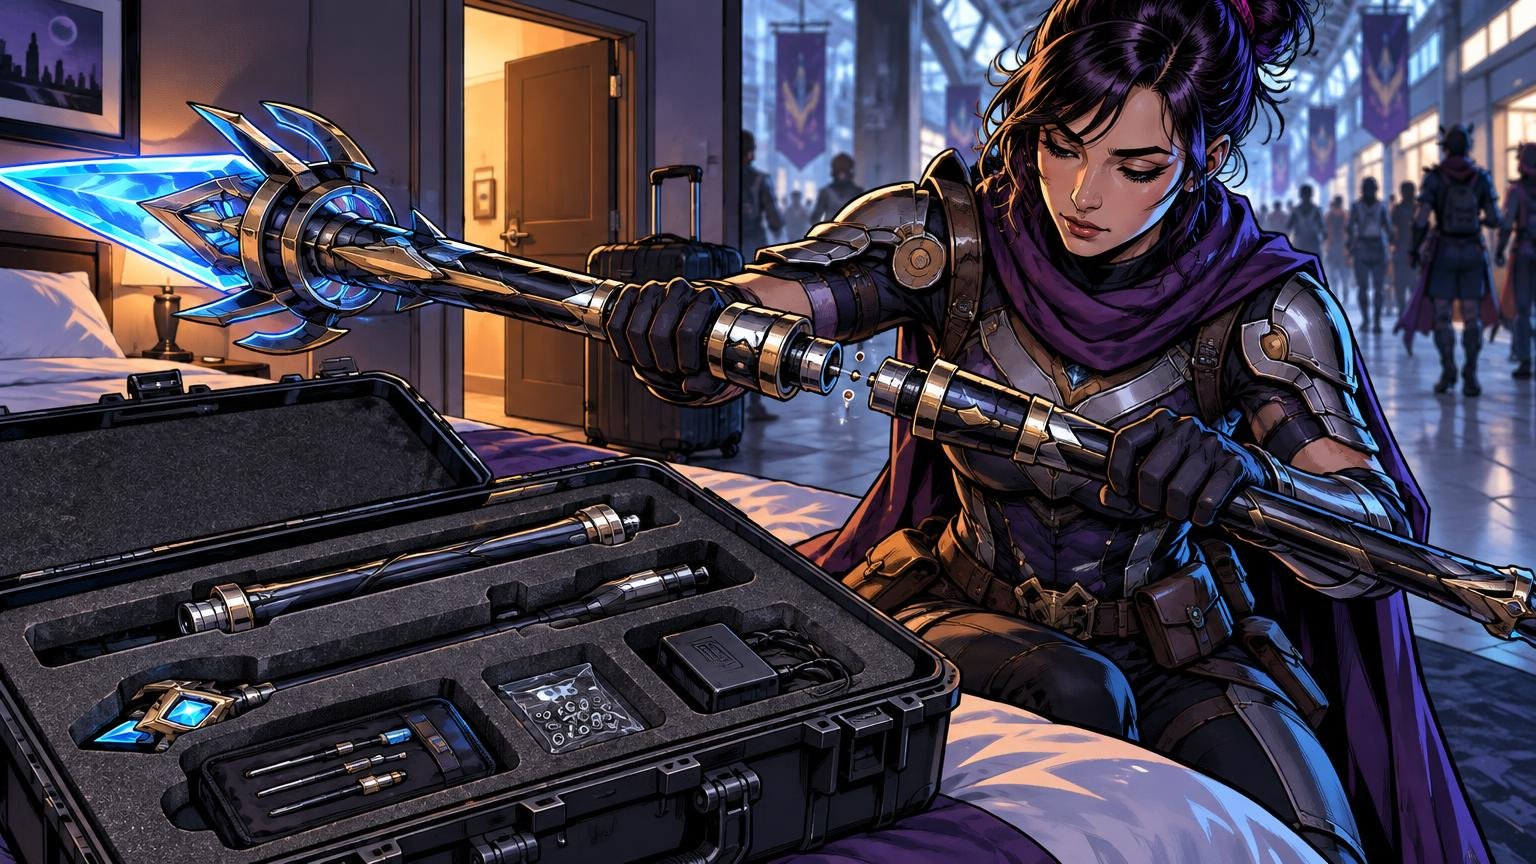
TLDR: Good cosplay prop transport design starts with the packed case, not the finished silhouette. Define the travel envelope, split the prop at visually forgiving locations, key every joint against rotation, and use mechanical fasteners where a separation would cause damage or danger. Give every module a repeatable place in the case, carry removable lithium batteries correctly, and pack a repair kit built around the prop’s actual failure points.
A gorgeous staff, shield, sword, or sci-fi blaster can survive weeks on the workbench and still lose a detail in the first hotel doorway. The solution is to treat cosplay prop transport design as part of the build. Your prop must survive four separate challenges: packing, vehicle movement, temporary assembly space, and a crowded convention floor. If flying is involved, baggage and battery restrictions add another layer.
Design around the packed envelope first
Before dividing a model or gluing the first physical parts, choose the likely transport method. Measure the usable interior of the suitcase, hard case, tote, or vehicle compartment rather than relying only on its exterior dimensions. Remember that foam, handles, wheels, dividers, cables, and repair supplies consume space.
Set a maximum packed length, width, and depth for each module. A long staff might become three sections, while a broad shield may need a removable handle and surface details that detach before packing. If the project is 3D printed, the transport plan should influence printer choice and part orientation alongside surface detail and strength. Our FDM versus resin guide for props and miniatures explains the broader material and process tradeoffs.
Make a quick transport specification before building:
- Usable case dimensions after foam or dividers are installed
- Maximum acceptable packed weight for the chosen travel method
- Longest individual module
- Number and location of assembly joints
- Fragile projections that need removable parts or isolated cavities
- Battery type, watt-hour marking, and removal procedure
- Tools required for assembly and field repairs
- Expected number of assembly and disassembly cycles
This reverses the usual workflow. Instead of finishing a seven-foot prop and hunting for a heroic container, you build modules that already fit a known container. That is less exciting than sculpting the glowing reactor core, but considerably more exciting than finding the reactor core snapped in half at baggage claim.
Choose split points that hide and protect the joint
The easiest joint to finish is one the design already disguises. Place separations at armor bands, pipe collars, panel lines, grip transitions, wrapped sections, mechanical couplings, or changes in material. An overlapping sleeve can hide a seam while increasing the alignment area.
Avoid placing a split at the point of greatest leverage. The middle of a long staff, the narrow neck below a heavy prop head, and a frequently gripped section all experience repeated bending or twisting. If a split must sit there, the visible shell should not be the only structure resisting the load. Use an internal tube, keyed core, pin, or other suitable mechanical connection to transfer forces through the joint.
A good modular connection handles alignment and retention as separate jobs. Alignment features put the pieces in the correct position. Retention hardware stops them from pulling apart. Asking two magnets to align, prevent rotation, eliminate wobble, and resist the leverage of a long prop is asking them to do the work of an entire engineering department.
Build repeatable joints instead of relying on friction
Key the orientation
Round pegs can rotate even when they fit tightly. Use a D-shaped shaft, rectangular tongue, offset alignment pins, spline, tab, or another asymmetric feature when orientation matters. A wide mating face or short overlapping sleeve can reduce wobble. Add a clear stop so the user cannot overtighten or push one painted surface into another.
Label both sides of each joint with matching symbols, colors, or numbers. Put the marks where they remain visible during assembly but disappear when the prop is complete. For a large build with many case cavities, durable custom identification stickers can also match each module to its packing position.
Use magnets for alignment and light retention
Magnets work well for access covers, lightweight decorations, battery doors, and modules that need fast tool-free removal. They are less convincing as the only retention system for a long, heavy, or frequently swung assembly. Leverage and sudden impacts can separate a magnetic joint even when it feels strong during a gentle bench test.
There is no universal magnet grade or pull-force target for cosplay props. Test the complete joint with the real part mass, leverage, paint, gap, and motion. Design pockets that control magnet position, verify polarity before adhesive cures, and consider a hidden pin, strap, screw, or latch where separation would be costly. See our detailed guide to magnet polarity and pocket design in 3D-printed models before committing a full set of parts.
Use threaded inserts and screws for repeated assembly
Machine screws and threaded inserts suit joints that will be assembled many times and need positive retention. Prusa describes heat-set inserts as durable, wear-resistant threads installed by heating the insert into a printed plastic part. Its guidance also indicates that the hole design and installation temperature should match the material rather than follow one universal setup.
Design enough material around an insert to support it, and avoid placing it in a thin decorative wall. A captive screw is especially useful because it remains attached to one module when loosened. If loose hardware is unavoidable, pack several exact replacements and the correct driver. Do not assume a screw that is merely longer is stronger; it can bottom out, puncture a surface, or damage embedded electronics.
Use pins or through-fasteners for demanding joints
Alignment pins are useful when modules must register precisely. A removable pin or through-bolt can provide visible, verifiable retention for a critical connection. This may be less elegant than a hidden magnet, but it is easier to inspect and repair in a hotel room. Build any exposed fastener into the visual language of the prop with a collar, faux rivet, maintenance hatch, or mechanical housing.
Make the case layout repeatable
Choose a hard case when crushing or puncture is a serious concern. A padded bag can be lighter and easier to carry, but it depends more heavily on careful handling and sufficient internal structure. Whichever format you use, pack the most fragile projections first and prevent heavy modules from moving into them.
Dedicated foam cavities are helpful when each part has a fixed orientation. Pelican’s Pick N Pluck instructions recommend leaving at least one inch of foam between equipment and the case wall. Treat that as product guidance rather than a universal guarantee: very heavy parts, delicate finishes, and protruding details may require a different case or more protection.
Configurable divider systems are more adaptable when the prop changes between costumes. Pelican describes TrekPak as a system of rigid divider panels paired with closed-cell foam. Dividers can make better use of space, although tiny details may still need individual sleeves or cavities.
Protect painted surfaces from rubbing. Soft, clean wraps or fitted sleeves can isolate finished modules, while rigid supports should carry the load instead of a delicate antenna, blade edge, scope, or greeble. Never let a loose tool share an open compartment with a finished part.
Once the layout works, photograph every layer of the packed case. The image becomes a repacking map for the hotel and the return journey. It also reveals when a part is missing before you close the lid.
Plan LED prop batteries for travel and inspection
Use a battery compartment that can be opened without dismantling the entire prop. Where practical, make the pack removable, mark its watt-hour rating, protect its terminals, and provide a positive way to keep the circuit switched off. Keep a photo or simple diagram showing the battery location and disconnection procedure.
For U.S. air travel, the FAA states that spare lithium-ion and lithium-metal batteries, including power banks, must travel in carry-on baggage rather than checked baggage. They must also be protected against damage and short circuits. Review the FAA PackSafe lithium-battery guidance shortly before departure.
FAA guidance says most batteries up to 100 Wh are allowed, while spare batteries from 101 to 160 Wh require airline approval and are limited to two per passenger. Batteries above 160 Wh are generally prohibited for passenger carriage. If a carry-on is gate-checked, remove spare batteries and power banks and keep them in the cabin.
These are U.S. baseline rules, not a promise that a specific airline, airport, foreign carrier, or destination will accept the complete prop. Check the operating airline’s current instructions for every leg. Also verify restrictions before packing tools, adhesives, aerosols, solvents, or other repair materials; a convention repair kit and an airline-compatible repair kit may not be identical.
Design the prop to pass through convention inspection
Event approval is not transferable. A prop accepted at one convention can be rejected at another because policies, venue requirements, local law, and security decisions differ. Read the current rules shortly before leaving and again before entering the venue.
Comic-Con International’s posted policy, for example, prohibits functional or sharp-edged props, requires compliance with applicable law, and permits security to inspect and tag approved costume props. It also says replica projectile props must be inoperable and display brightly colored caps. Other events may use different requirements.
Make inspection simple. Keep battery doors accessible, avoid permanent closures over mechanisms, and leave a sensible place for a tag or peace bond that does not interfere with controls. Carry the prop discreetly outside the event rather than walking through a hotel lobby, parking structure, or public street with a realistic weapon-like object exposed.
Pack a repair kit for the failures you can predict
A useful repair kit is not a random box of craft supplies. List each serviceable joint and the parts it can lose or damage, then pack compact replacements. Test the kit by assembling the prop using only what will travel with you.
- Correct drivers, hex keys, or compact tools for every removable fastener
- Spare screws, washers, nuts, pins, clips, and other joint-specific hardware
- Replacement magnets with polarity clearly marked
- Small labeled bags for removed hardware
- Approved touch-up materials appropriate to the travel method
- Cable ties, hook-and-loop straps, and removable tape for temporary stabilization
- Suitable spare electronics components and protected batteries where permitted
- Printed or offline assembly instructions and wiring diagrams
- A photo of the fully packed case and each foam layer
- Contact details and purchase information for anything difficult to replace
Do not attempt a beautiful permanent repair five minutes before the costume contest. The field goal is usually to make the prop safe, stable, and presentable. A strap, pin, or removable brace can get the build through the day without turning a small crack into a larger failure.
Pre-departure cosplay prop transport checklist
- Assemble and disassemble the complete prop using only travel tools.
- Shake and rotate each joint gently to check for looseness, twisting, and cable pinching.
- Confirm that every module fits its assigned case cavity without forced pressure.
- Photograph the packing order and save the images offline.
- Count fasteners and pack exact spares in labeled containers.
- Verify battery ratings, terminal protection, airline instructions, and carry-on placement.
- Read the current convention and venue prop policies.
- Confirm that inspection points and tag locations remain accessible.
- Pack the repair kit separately from delicate painted modules.
- Repeat the same checks before the return trip; hotel-room repacking deserves as much care as departure packing.
Build for the journey, not just the reveal
The strongest transport plan is decided while the prop is still a sketch or digital model. Start with the case envelope, hide modular breaks in the design, separate alignment from retention, and reserve magnets for loads they can realistically handle. Then give every piece a protected location and every likely failure a repair option.
Before the final paint pass, perform one complete travel rehearsal: pack the case, move it through a car or around the building, unpack in a constrained space, assemble with the travel tools, and repack it from your photos. Any awkward step found during that rehearsal is cheaper to fix at the workbench than in a crowded convention hallway.
References
- Heat Set Inserts – M3 standard 100 pcs | Original Prusa 3D printers directly from Josef Prusa
- 1062 Pick N Pluck™ Foam Insert | Pelican Official Store
- Trekpak Case Divider System | Pelican Official Store
- PackSafe – Lithium Batteries | Federal Aviation Administration
- PackSafe
Federal Aviation AdministrationBatter
- Lithium Batteries in Baggage | Federal Aviation Administration
- Convention Policies – Comic-Con