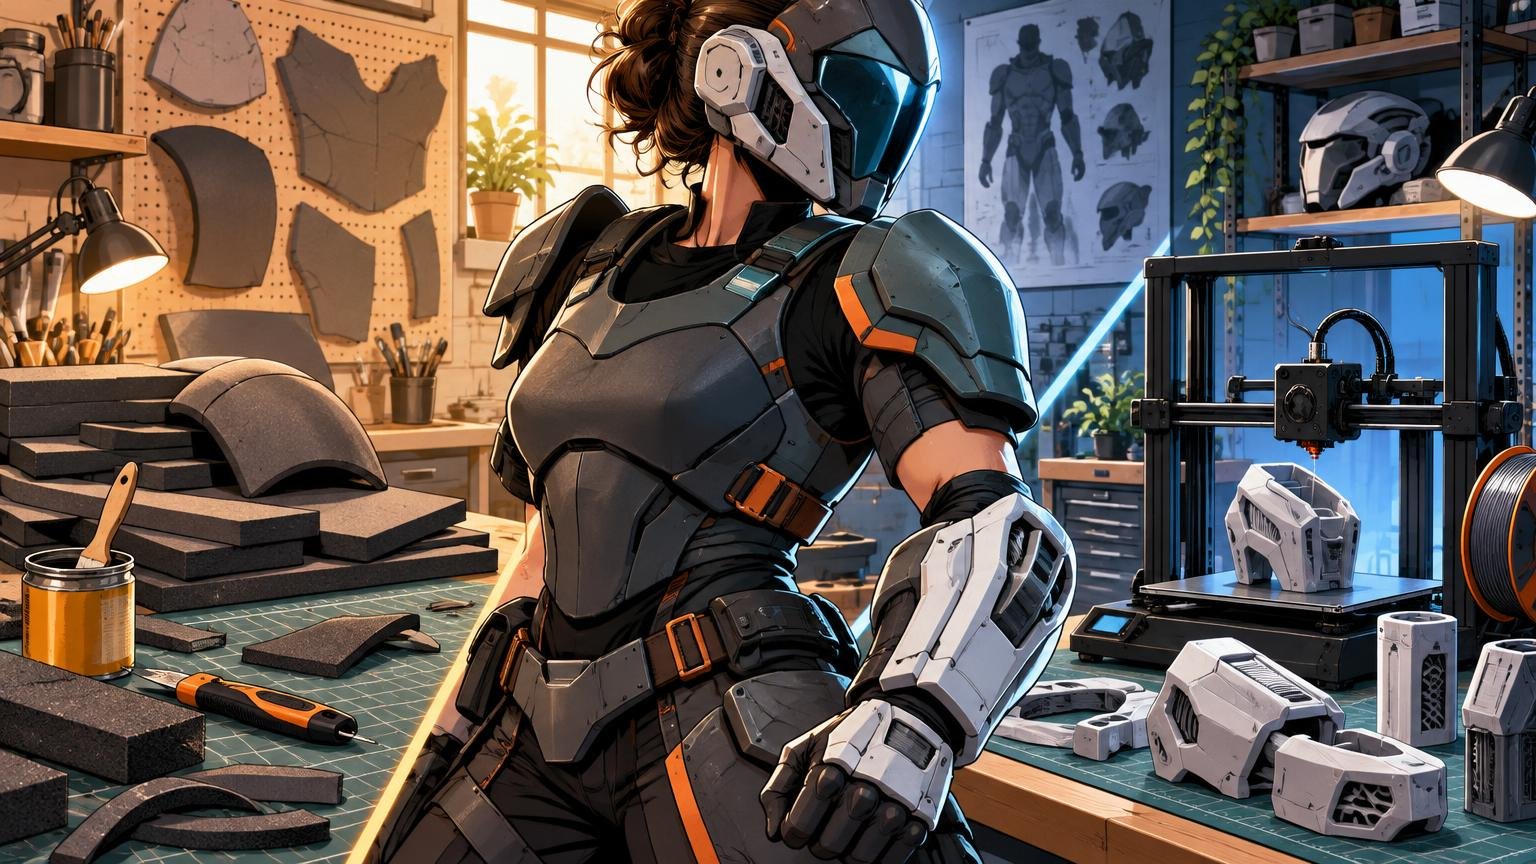
The shortest verdict is simple: use EVA foam for broad armor shells that must follow the body, flex during movement and survive convention abuse. Use FDM 3D printing for rigid compound curves, crisp mechanical details and parts that need repeatable geometry. For many ambitious costumes, the best answer is not foam or filament. It is a hybrid build that assigns each shape to the material that naturally wants to make it.
That distinction matters more than asking which method is universally “better.” A curved chest plate, an engraved gauntlet housing and a flexible abdominal panel may belong to the same costume, but they are three different fabrication problems. Trying to force every component through one workflow is how a fun build becomes a sanding-based side quest with no visible ending.
TLDR: Choose the process by shape and movement
- Choose EVA foam for large, lightweight shells; body-hugging curves; flexible movement zones; layered forms; and armor likely to get bumped or compressed.
- Choose FDM printing for rigid compound curves; symmetrical mechanical parts; recessed panels; sockets; brackets; repeated greeblies; and details that are difficult to cut consistently by hand.
- Use a hybrid build when a foam base can carry printed vents, buckles, emblems, hinges, housings or surface-detail tools.
- Do not mistake a detailed print for a finished part. Layer lines, supports, seams and split joints can demand substantial filling and sanding.
- Plan for heat differently: EVA is deliberately heated for shaping, while ordinary PLA can soften and lose mechanical strength around hot cars, heaters and other high-temperature environments.
The shape-first comparison
| Build requirement | EVA foam | FDM 3D printing | Better starting point |
|---|---|---|---|
| Broad torso or thigh shell | Cuts from flat patterns and heat-forms around the body | May require large prints, multiple sections and rigid attachment points | EVA foam |
| Rigid compound curve | Possible through darts, seams and shaping | Produced directly from a suitable digital model | 3D printing |
| Fine mechanical detail | Built through layers, carving and engraving | Modeled details can be precise and repeatable | 3D printing |
| Movement zone | Light and yielding | Standard PLA is stiff and relatively brittle | EVA foam |
| Repeated matching parts | Requires careful patterning and hand consistency | The same model can be printed repeatedly | 3D printing |
| Fast local repair | Seams can often be re-glued or reinforced | Cracks may require glue, refinishing or reprinting | EVA foam |
| Mixed organic and mechanical armor | Strong base material | Strong detail and interface material | Hybrid build |
EVA foam wins broad curves and wearable movement
EVA begins as a compliant sheet that can be cut from a pattern, heated until pliable and shaped over a form or directly by hand. That workflow suits chest plates, shoulder wraps, thigh armor, greaves and other broad pieces that need to follow the wearer rather than preserve an exact engineered radius. EVA grades vary in density, hardness and elongation, so no single industrial datasheet describes every sheet sold for cosplay. The shared practical advantage is a lightweight, yielding structure that can be heat-formed.
Foam is especially useful where the armor crosses a movement zone. A torso shell must tolerate breathing, bending and the occasional awkward attempt to sit down. A rigid printed abdomen can look magnificent on a mannequin and become an Imperial interrogation device on its wearer. Foam can compress and flex instead of directing every load into a hard edge, strap mount or glued seam.
Simple curves are where EVA feels almost unfairly efficient. A maker can bevel two edges, join them with contact adhesive and heat-shape the result into a clean shell. More complex forms require darts, multiple panels or layered construction, but the builder can adjust the contour physically without returning to CAD, reslicing a model and waiting through another print.
3D printing wins rigid geometry and mechanical precision
FDM printing earns its place when a part has a compound curve that must hold a specific shape or includes geometry that would be tedious to reproduce in foam. Recessed panels, matching vents, symmetrical greeblies, keyed sockets and mounting interfaces can all be built into the model. The result is repeatable: once the file and print settings work, a matching second component does not depend on reproducing the same hand-cut bevel.
The printer still has rules. Build volume may force armor into sections, while orientation changes visible layer direction, strength, overhang behavior and the number of supports required. Supports consume material and can leave rough contact surfaces. Split parts add alignment, gluing and seam-finishing work. Good digital geometry solves one class of problem while creating a manufacturing plan that still needs thought. Prusa’s design guidance for 3D-printed models explains how orientation, overhangs and printable geometry affect the result.
A common 0.4 mm nozzle can reproduce useful armor detail, and smaller nozzles or thinner layers can push finer features further at the cost of longer print times. If the project includes tiny ornamental pieces or miniature-scale details, the process decision may extend beyond foam versus FDM; this FDM-versus-resin guide for props and miniatures covers that separate choice.
Detail is not the same as surface finish
A printed gauntlet can emerge with every button recess, panel break and vent already present, but it will not necessarily emerge looking like finished metal or molded production armor. Layer lines, support scars, seams and small print defects remain part of the job. Depending on the desired finish, the part may need filler, primer, sanding and repeated inspection under raking light.
Foam creates detail differently. Builders stack thinner layers, bevel edges, carve channels, engrave lines and shape surfaces with sanding drums, grinding stones or engraving cutters. The process is more interpretive, but it can produce excellent raised armor borders and stylized panel work. The Dremel cosplay-prop workflow shows how rotary accessories can support foam shaping and surface work.
The better method therefore depends on the kind of detail. Choose printing for identical vents, hard-edged recesses and hardware-like forms. Choose foam layering and engraving for broad raised borders, shallow channels and details that should visually flow across a flexible shell.
Weight and flexibility change how armor feels
EVA is usually the easier foundation for a large wearable shell because its foam structure provides volume without turning every panel into a rigid plastic plate. Standard PLA is stiff rather than flexible, and Prusa characterizes it as hard but brittle, with the potential to break along layer lines or shatter under an impact. UltiMaker lists a PLA tensile modulus around 3.1–3.3 GPa and heat deflection around 58.8°C for its material.
Printed armor weight cannot be predicted from material density alone. Wall count, infill, part scale, supports and model design all matter. Lightweight PLA and materials such as nylon can alter the equation, but they bring their own printing behavior and are not interchangeable with ordinary PLA.
The practical lesson is to reserve rigid mass for places where it buys something useful: a sharply modeled helmet faceplate, a mechanical knee housing or a gauntlet control box. Covering every square inch in printed plastic can increase weight while making movement, attachment and transport harder.
Heat helps foam but threatens PLA
Heat plays opposite roles in these workflows. EVA is intentionally warmed so it can be curved and formed during fabrication. PLA begins losing mechanical strength at temperatures around 60°C and may soften or deform instead of becoming conveniently adjustable armor. A printed component left in a hot vehicle can therefore face a very different fate from a foam shell that was heat-shaped during construction.
That does not make either process casual about heat. A heat gun can scorch foam, distort a carefully shaped edge or burn the operator. Use controlled passes rather than parking the nozzle over one point. Printed parts should be stored and transported away from concentrated heat, especially when their shape depends on thin walls or tightly aligned interfaces.
Tools, cost and the real price of finishing
A basic EVA setup can begin with foam sheets, sharp cutting tools, a cutting surface, a ruler, a heat gun and flexible adhesive. A rotary tool expands the shaping options but is not required for every pattern. FDM work requires a printer, filament, model files or CAD work, slicer setup and tools for print removal, assembly and surface cleanup.
That difference makes EVA the simpler entry point for many first armor builds. The comparison changes if a maker already owns a calibrated printer and has the relevant files. Cost should include more than the visible sheet or spool: count equipment, consumables, support material, failed attempts, adhesives, filler, primer, abrasives and labor. A “cheap” print that consumes several evenings of seam work is not automatically the value winner.
Digital files also affect cost in a less obvious way. A well-designed armor model can save pattern development and make replacement parts repeatable. A poorly divided model may demand excessive supports, awkward seams or sections too large for the available printer. Foam patterns have the same quality spectrum, but adjusting a paper template is generally faster than discovering a fit problem after a long print.
Sanding is work in both camps
Foam can be rough-shaped with coarse rotary abrasives and refined with finer accessories. The challenge is preserving clean edges and avoiding gouges, torn surfaces or excessive heat. Printed PLA can also be sanded, but Prusa recommends wet sanding because dry friction may locally heat and melt the plastic; it describes PLA post-processing as difficult.
Design around the finishing workload before fabrication. Orient visible print surfaces to reduce ugly support contact, place split lines along natural panel breaks and keep critical details away from seams. On foam, make test cuts to establish the blade angle, sharpen or replace blades frequently and hide necessary joins where the costume already has a border or shadow line.
Repairs favor modular and forgiving designs
Foam damage is often local. A lifting seam can be cleaned and re-glued, while an interior patch or hot-glue reinforcement may keep a stressed area working through an event. Printed armor can also be glued, but a crack following a layer line or an impact-shattered edge may be harder to conceal beneath an established paint finish. Reprinting the component may produce the cleanest repair when the design is modular.
Build repair access into the costume. Avoid burying every strap mount beneath permanent layers. Keep small paint and adhesive supplies for event-day fixes, and retain the final print files and slicer notes for replaceable parts. If the costume must survive a car, hotel and crowded convention hall, design its breakdown points alongside the armor itself; the same principle drives this guide to transporting cosplay props without destroying them.
Hybrid armor is often the smartest build
A strong hybrid design uses EVA for the broad, body-conforming shell and printed components for exact, rigid details. A foam chest plate might carry printed vents and an emblem. A flexible bracer can support a printed display housing. A helmet may be printed while the neck seal, shoulders and torso remain foam. Documented costume builds have used printed models alongside EVA chest, hip and leg armor, so this division is established practice rather than a theoretical compromise.
Printing can also serve the foam process instead of appearing in the final costume. The Punished Props Academy example of 3D-printed texture stamps demonstrates how printed tools can press repeatable surface patterns into EVA. That approach gives the printer the precision job while allowing foam to remain the lightweight wearable material.
For a clean hybrid assembly, model printed details with the foam thickness and curvature in mind. Give attachment tabs enough area to spread loads, avoid tiny hard contact points that can tear the foam, and test the combined movement before final paint. A digitally perfect component is still wrong if it digs into the wearer every time an elbow bends.
Do not ignore workshop safety
Foam fabrication involves sharp blades, heat guns, adhesives and dust or debris from sanding and rotary work. FDM printing adds hot machinery and airborne emissions to the workshop equation. Keep cutting paths away from hands, control loose hair and clothing around rotary tools, and follow the adhesive and material manufacturers’ handling instructions.
FDM printers should not be treated as harmless desk ornaments merely because they fit on a desk. The NIOSH guidance on 3D-printing emissions and controls discusses ultrafine particles, volatile compounds and controls such as local exhaust, ventilated enclosures and HEPA-equipped air cleaning. NIOSH also reported substantially higher particle emissions in one study when printers operated hotter than recommended conditions.
The final choice: assign every part a job
Before committing to a material, mark each armor component as flexible shell, rigid shell, precision detail, attachment interface or decorative surface. Flexible shells usually point toward EVA. Rigid shells with compound geometry and precise details usually point toward printing. Interfaces and decorative elements can go either way depending on load, finish and repair needs.
If one part seems caught between methods, prototype a small section. Test the curve, strap placement, range of movement and finishing time before scaling up. The best cosplay armor is not the build with the most printed pieces or the cleverest foam pattern. It is the one that preserves the silhouette, survives being worn and lets its maker reach the convention floor without needing an emergency visit to the repair table.
References
- H-O PRODUCTS CORPORATION
- 2# EVA Foam – H-O Products
- How to Start Making Cosplay Props – with Wayne’s Workshop | Dremel
- Modeling with 3D printing in mind | Prusa Knowledge Base
- Design for FDM 3D printing: Maximize your success – UltiMaker
- Support material | Prusa Knowledge Base
- PLA | Prusa Knowledge Base
- UltiMaker PLA Filament: The Best 3D Printer Filament Guide
- Prusament PLA Lightweight: 65% lighter than regular PLA. Perfect choice for aircraft, cosplay, and more. – Original Prusa 3D Printers
- Polyamide (Nylon) | Prusa Knowledge Base
- Post-production of 3D-printed mask – Original Prusa 3D Printers
- Cosplay High-Density EVA Foam | Hobby Lobby | 1920461
- DIY Mandalorian Armor : 4 Steps – Instructables
- Textured Foam with 3D Printed Stamps? Awesome Foamsmithing Trick! – Punished Props Academy
- Characterizing 3D Printing Emissions and Controls in an Office Environment | NIOSH Science Bulletin | CDC