
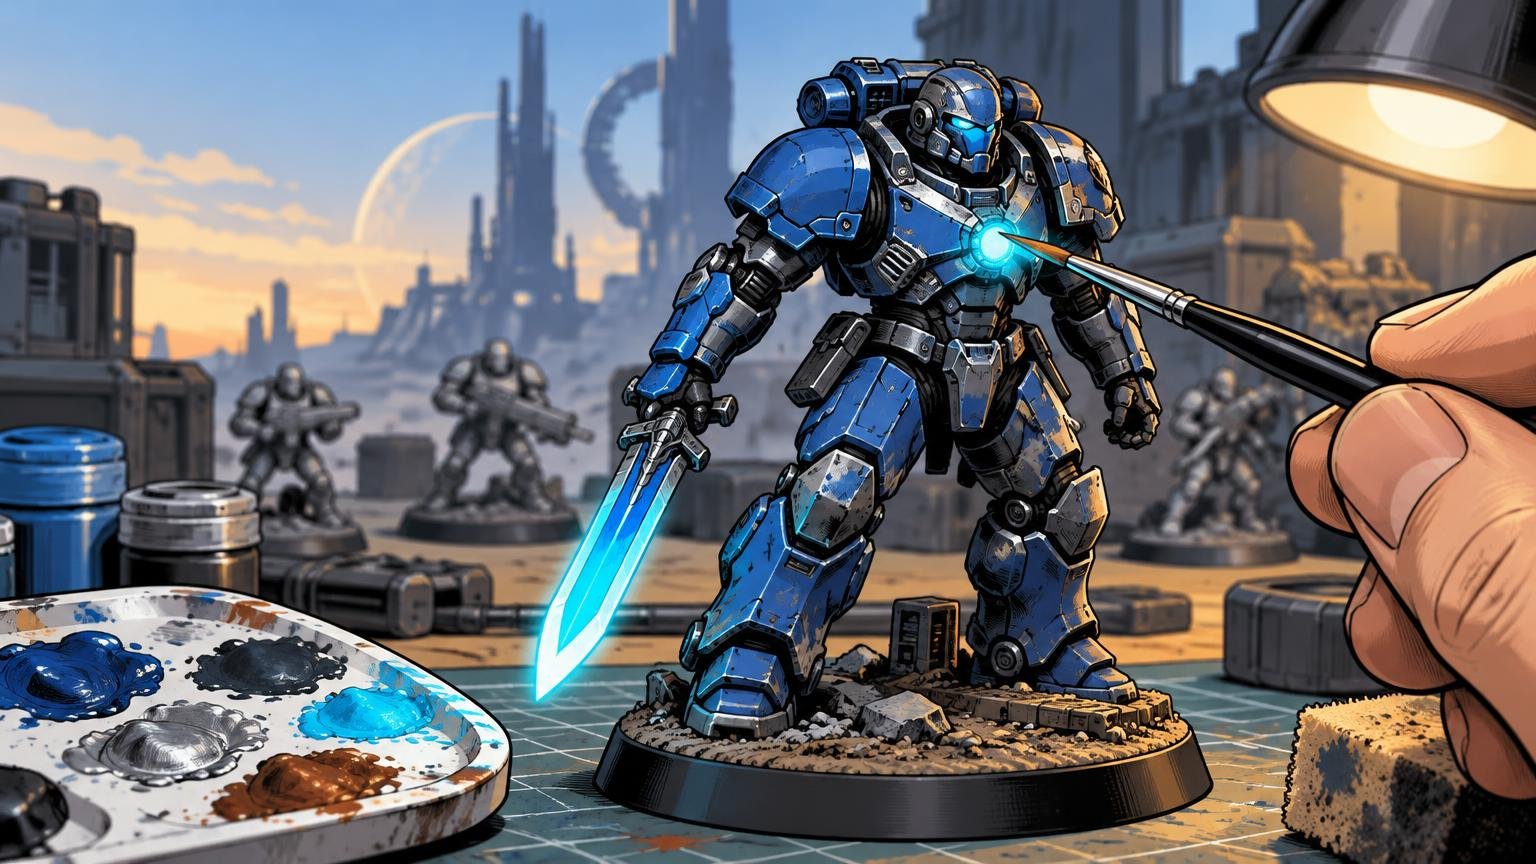
TL;DR
Build the miniature in clear stages: clean and prime it, establish smooth base colors, shade the recesses, restore the shapes with highlights, and then add metallics, panel lines, weathering, and glow effects selectively. Finish the base and protect the model with varnish. The secret is restraint. Choose a few focal points and let some armor panels remain quiet; otherwise your futuristic soldier quickly becomes a walking sample chart.
The complete beginner workflow
- Clean the miniature and remove obvious seams or leftover support marks.
- Prime in a color that supports the intended scheme.
- Apply thin basecoats, starting with awkward recesses.
- Shade joints, gaps, vents, and other recessed areas.
- Highlight raised armor and edges with progressively smaller marks.
- Paint metallic weapons, machinery, and exposed components.
- Define selected panel lines and rivets.
- Add weathering where contact, movement, and exposure make sense.
- Paint glow effects from the light source outward.
- Finish the base, check the overall balance, and varnish.
1. Prepare the miniature before paint touches it
Dust, skin oils, and mold-release residue can interfere with the next stages, so clean the miniature before priming. Let it dry fully, then inspect it under a strong light. Remove visible mold lines, print supports, and rough attachment points because paint tends to advertise these flaws rather than conceal them.
Primer creates a more uniform painting surface and helps subsequent paint adhere. Colored primer can also serve as the first major color, while a neutral primer gives every area the same starting point. Spray primer is generally intended for outdoor use, or for a suitably ventilated and protected indoor setup that accounts for fumes and overspray. Follow the product instructions rather than trusting your respirator to the Force. The Army Painter offers a useful beginner miniature-painting overview.
Black primer is forgiving in deep mechanical recesses. Grey makes colors easier to judge, while white supports bright armor and vivid glow colors. Pick the option that removes work from the scheme rather than adding another mandatory coat.
2. Establish clean base colors
Paint the hardest-to-reach areas first: undersides of weapons, gaps behind limbs, inner coats, cables, and recessed machinery. Then move outward to armor plates and exposed surfaces. This order reduces the number of times you repaint a finished shoulder pad because your brush had to squeeze past it.
Thin the paint enough that it flows from the brush without forming a thick ridge. Wipe excess paint away before touching the model. Two or three controlled coats usually preserve sculpted detail better than one heavy pass, and each coat should dry before the next one goes down.
Keep the initial palette simple. One main armor color, one secondary color, a dark neutral, a metal, and a single bright accent are enough for a convincing sci-fi scheme. Complexity can come from value changes and surface treatment rather than twelve competing colors.
3. Shade for depth, then highlight for readability
Apply a wash or shade to joints, armor gaps, cloth folds, vents, and recessed mechanical details. These paints are designed to settle into low areas and create depth. If a puddle forms on a flat plate, lift it while wet with the tip of a clean brush. A controlled recess shade looks deliberate; a dried tide mark looks like the miniature survived a coffee spill.
Shading darkens the model, so highlights must restore its structure. Apply a lighter version of the base color to raised forms and upward-facing edges. Reserve the brightest color for smaller corners, helmet ridges, knuckles, and focal details. Progressively smaller highlights make the shapes readable without turning every edge into a glowing runway.
Drybrushing is faster on textured machinery, chainmail, ribbed hoses, rubble, and heavily worn metal. Remove most paint from the brush, then lightly catch the raised texture. It is less suitable for armor plates when you want crisp, clean edges.
4. Make metallics and panel lines serve the design
Use metallic paint to distinguish exposed mechanisms, weapon parts, joints, pistons, and damaged areas from painted armor. A dark metal followed by a lighter drybrush creates fast definition on edge-rich components. Keep the brightest metallic marks on exposed corners rather than spreading them evenly across every surface.
Panel lining can sharpen the manufactured look by darkening selected seams, rivets, and divided surfaces. Capillary-action panel liners are designed to flow through recessed lines. AK Interactive’s product guidance for its Starship Detail Wash calls for a gloss or satin surface and white spirit for thinning or cleanup; that advice is specific to its solvent-based product, so follow the instructions and safety requirements for the exact liner you use.
A fine brush and thinned acrylic paint provide a simpler alternative. Touch the mixture into the recess, clean any slip while it remains workable, and avoid outlining every plate. Define the seams that explain the construction or frame the face and weapon.
5. Weather the places that would actually take damage
Decide what happened to the miniature before adding damage. Boots collect dust. Knees, elbows, weapon housings, and projecting armor edges receive abrasion. Exhausts produce directional staining. Lower legs encounter dirt. This small story gives weathering a pattern instead of distributing random silver freckles across the model.
Start with a torn piece of sponge and a dark brown or dark grey. Remove most of the paint, then dab a few irregular chips onto exposed edges. Add a tiny bright metallic mark inside selected dark chips to suggest deeper damage. Stop while the effect still looks sparse. Manufacturer tutorials likewise demonstrate concentrating effects in selected areas and blending stains in their intended direction rather than coating the entire surface uniformly.
Judge the model from normal viewing distance after each weathering pass. If the face, silhouette, and major armor divisions are becoming harder to read, the miniature has enough battle history.
6. Build glow effects from the source outward
A glow needs a bright source, controlled falloff, and nearby surfaces that plausibly face that source. Begin with a small object such as an eye lens, chest light, power cell, or weapon coil. Planning object-source lighting early is easier than trying to spray luminous fog over a completed paint scheme. Warhammer’s introduction to object-source lighting also recommends starting with small effects before attempting broad weapon or scene lighting.
Paint the surrounding glow in a saturated color, reduce the area with each brighter layer, and finish with a small near-white center. Vallejo demonstrates this progression in its turquoise luminous-effect tutorial, ending with diluted white at the highest-brightness point.
Keep reflected light weaker and duller than the source. Place it only on surfaces reached by the imagined beam, and preserve some dark areas nearby so the glow has contrast. For a deeper treatment of direction, value, and falloff, use this guide to painting object-source lighting without neon fog.
7. Base and varnish without undoing the paint job
The base should support the miniature rather than audition for a separate army. Rubble suits industrial ruins, fine grit can suggest an alien desert, and restrained metallic debris can continue a starship-interior theme. Reuse one armor accent or glow color in a tiny base detail to connect the figure with its environment. Consistent basing can also unify a squad or collection.
Once everything is dry, choose varnish according to the desired surface. Matte reduces shine, satin keeps a mild sheen, and gloss works well for wet details, glass, lenses, or polished screens. Multiple thin coats are safer than one heavy coat. Allow the product to cure as directed and test spray varnish on cardboard or an older miniature before committing it to the squad leader.
If the whole model receives matte varnish, you can restore selective shine afterward with brush-on satin or gloss over lenses and screens.
Know when the miniature is finished
Set the miniature down and view it from arm’s length. You should immediately read the face or helmet, weapon, major armor blocks, and one focal accent. If those elements work, extra scratches and glow reflections are optional rather than mandatory.
For a first sci-fi miniature, prioritize clean basecoats, readable shading, a few sharp highlights, and one controlled special effect. That foundation will look better on the shelf or tabletop than a model carrying every technique in the paint rack. Finish the base, protect the work, and move to the next miniature while you still like this one.
References
- Miniature Painting: Start Here!
- Master Color Primers with The Army Painter's Step-by-Step Guide
- Master Painting a mini: Step-by-Step Guide from The Army Painter
- Warhammer Colour – The Warhammer Paint
- thearmypainter.com
- Highlight Like a Pro with The Army Painter’s Techniques
- Citadel Colour – What Is Parade Ready? – Warhammer Community
- Panel Liners at AK Interactive | Panel Liners Online Shop
- ak-interactive.com
- TRANSPARENCY AND SHINE ENHANCER TUTORIAL
- Learn How to Paint OSL Effects on Citadel Colour Masterclass this Week – Warhammer Community
- Tutorial
How to paint a turquoise
luminous effect - Protect and Seal Your Miniatures with The Army Painter’s Varnish Guide